

Earlier this summer I invited my children into the kitchen for a "cooking class." I set up a space at the kitchen island with two electric burners that were leftover from a kitchen remodel a couple years ago. I also gave them each a cutting board and their own knife to practice with. Together we brainstormed to come up with things that they would like to cook and that were practical for beginners. We started with the most obvious choice, pancakes. Then we moved up towards more complex dishes like stir fry, meatloaf, chicken fingers, and pie. They enjoyed each session and asked for more. They also showed quite a bit of interest in plating and photographing their creations, so I guided them through an entire blog post from start to finish. Tonight they made Pretzel-Crusted Pork Tenderloin, Mashed Potatoes, Roast Asparagus, and Sugar-Crusted Molten Lava Cake.
The kids were engaged throughout the entire process and enjoyed getting a chance to photograph their creations. My seven year old son really got into setting up the shot and loved taking photos of his creations. He got pretty crafty and picked out napkins, silverware, and even adjusted the camera angle to get the shot he wanted. Tonight we are sharing the lava cake recipe and later this week we will be sharing the pork loin recipe.

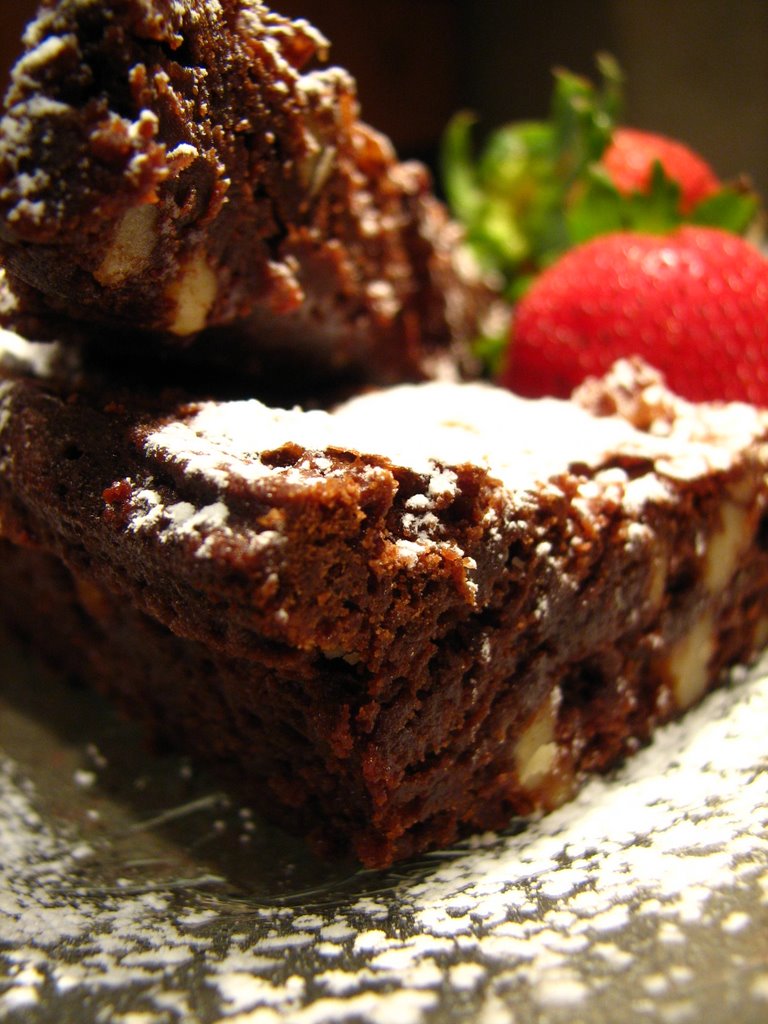
Sugar-Crusted Molten Lava Cake
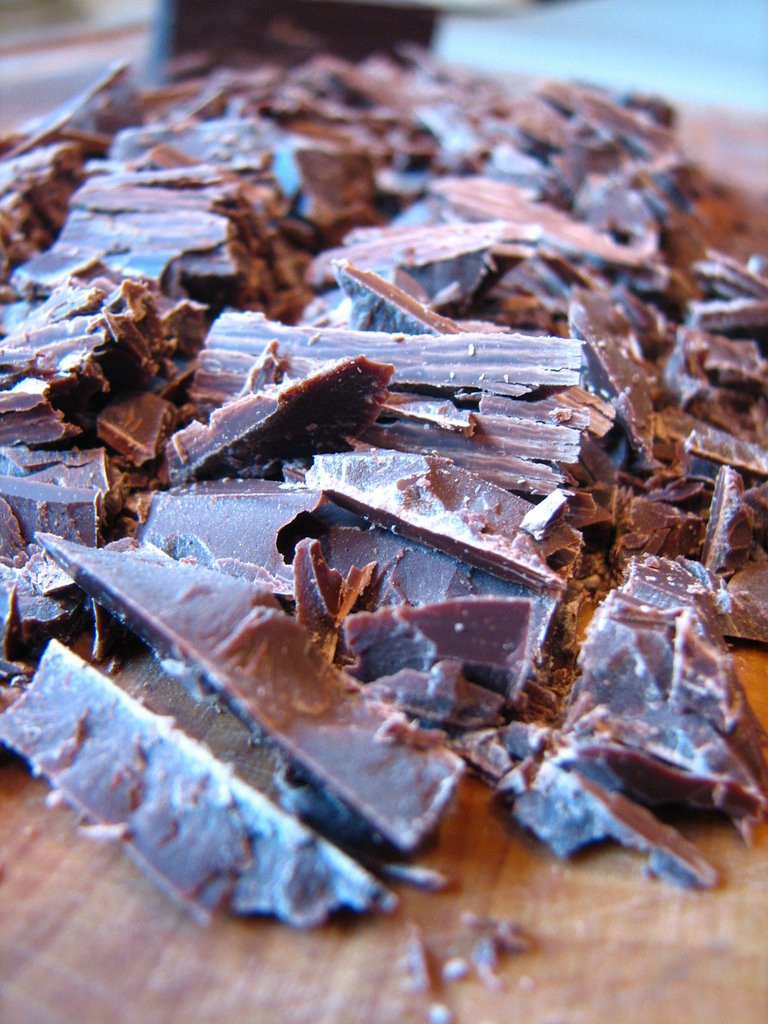
4 ounces bittersweet chocolate chips
4 ounces semisweet chocolate chips
10 tablespoons butter
1/2 cup flour
1 1/2 cups powdered sugar
3 eggs
3 egg yolks
1 teaspoon vanilla
1/2 cup granulated sugar, for dusting custard cups
Preheat oven to 425°F. Spray 6-6 ounce custard cups with baking spray and then sprinkle in 2 teaspoons granulated sugar, rotate to coat and then tap the excess out. Cut the butter into pieces and place in a microwave safe bowl. Add both types of chocolate and microwave for 30 seconds. Remove and stir. Heat at 20-second intervals until butter and chocolate chips are melted, the mixture should look like a thick chocolate sauce. Add remaining ingredients and whisk together until smooth. Divide equally among custard cups and bake for 14 1/2 minutes. Run a knife around the edges and invert onto small plates to serve. Serve with a scoop of ice cream.


 Pumpkin Whoppie Pies

 1 boxed cake mix, baked and cooled
 Gabe had been talking about his birthday party 6 months ahead of time. He knew he wanted all of his friends to come over. He knew he wanted it to be at our house. He knew he wanted to have "lots of things to eat" and he knew exactly what he wanted his cake to look like.
 Somehow he came up with the idea of having "5 circle cakes with cherries all around the top." I don't know where he came up with this idea, even though I asked him a hundred times. I tested him every few weeks to see if he had changed his mind. I suggested dinosaurs, polka dots, multiple layers, etc...but he was firm. He wanted what he wanted and I aim to please on his birthday. So, I set out to make 5 circle cakes.
 He didn't want big cakes and he didn't want cupcakes, so when he saw me pull out the 6-inch cake pan he said "that is the right one, Mommy." Aha! The only bad part was that I only own 1 6-inch cake pan and he wanted 5 of them! Ugh. I didn't want to spend money on another cake pan so I baked each of the five cakes separately. I figured I had to make an adult cake to serve as well, so at least I was baking two cakes at a time. It still took 3 hours to bake, cool, wash, repeat, repeat, repeat, and repeat.


