Saturday, September 23, 2006

Individual Peach Upside-Down Cake

I had one lone peach lurking around in the house this morning and decided to try out this recipe that we saw on Food Network last night. We watched as Alton Brown turned one peach into two tasty looking cakes. They looked so good that we decided to have them for breakfast - since he did happen to mentioned that they are his all time favorite breakfast treat. I guess that gave us permission to indulge this morning!
The recipe was simple to execute and the resulting cakes turned out beautiful and the aroma of the warm peaches was heavenly. We ate every bite and Joseph even asked if I only made two of them...I think he would have gone up for seconds! I would recommend trying these out for a breakfast or dessert...either way they are scrumptious.

Wednesday, September 20, 2006

Barefoot Contessa Chicken Stew

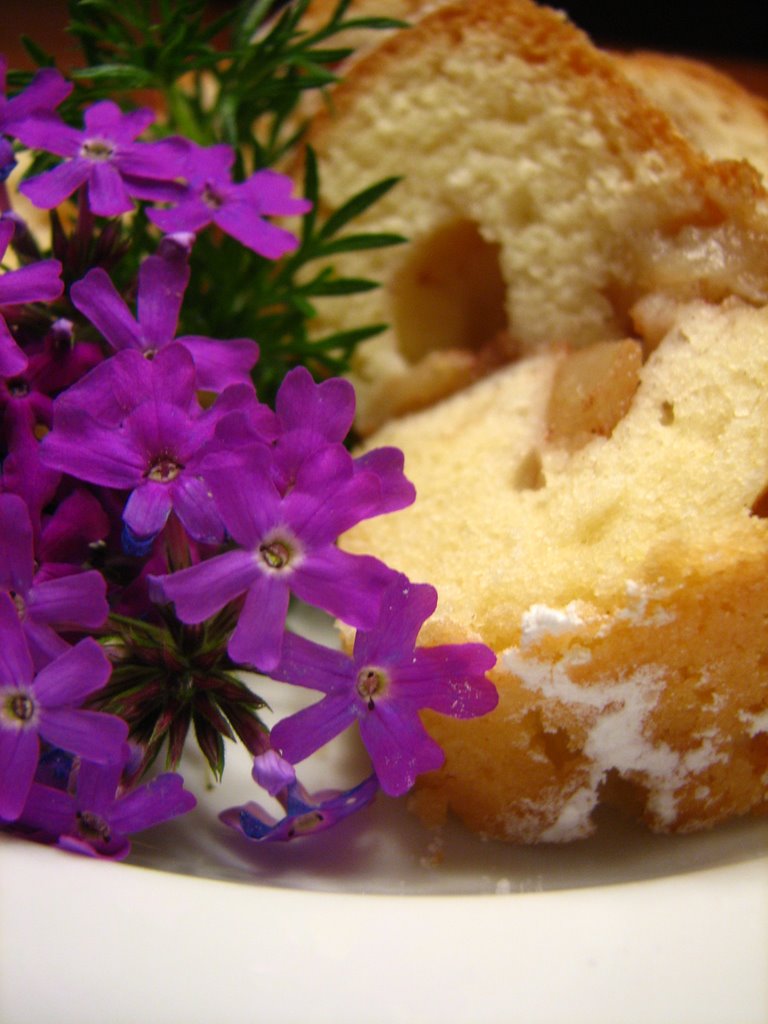
Today was the first crisp autumn day that we've had and I jumped at the chance to make a large pot of soup. I enjoy having a warm, bubbling pot of soup on the stove on days like this. I referred to Ina Garten's 
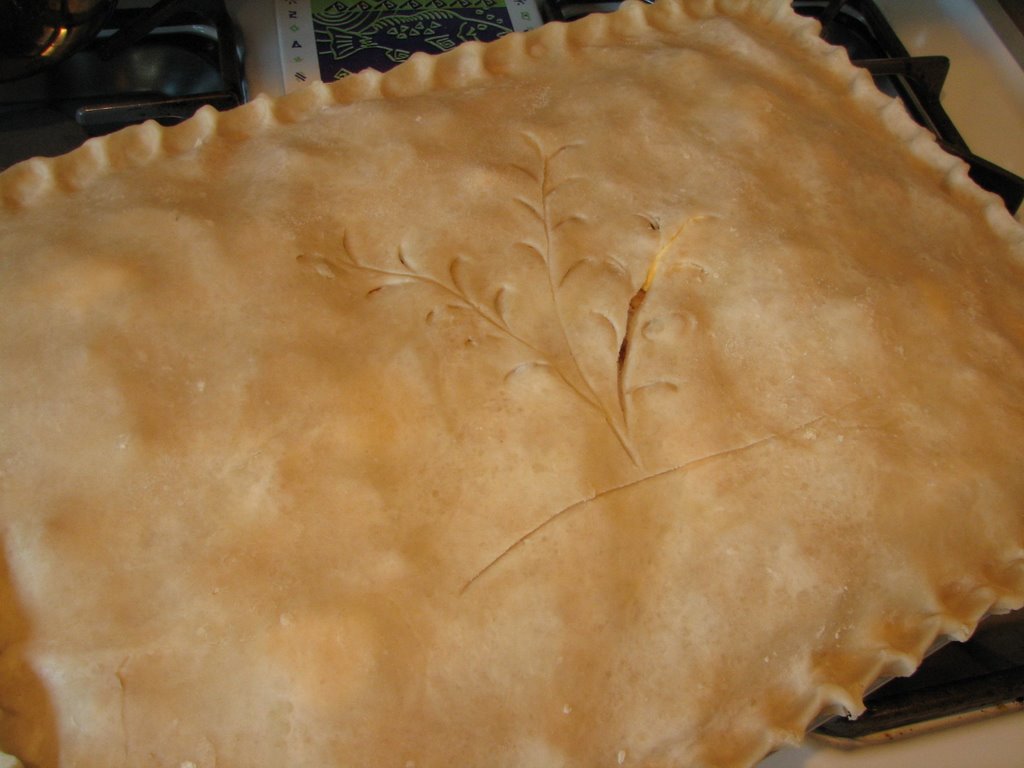
Barefoot Contessa Family Style cookbook for my favorite chicken stew recipe. It was so delicious that I am looking forward to tomorrow when I can have it again for my lunch. This recipe also makes a great filling for Chicken Pot Pie.

Chicken Stew with Biscuits
adapted from Barefoot Contessa Family Style

3 whole (6 split) chicken breasts, bone in, skin on
3 Tablespoons olive oil
Kosher salt and freshly ground black pepper
5 cups chicken stock
2 chicken bouillon cubes
1 1/2 stick unsalted butter (I reduced this to only 1/2 stick and it turned out terrific.)
2 onions chopped
3/4 cup flour
1/4 cup heavy cream
2 cups carrots diced
2 cups frozen peas
1/2 cup fresh parsley
2 potatoes, peel, and cubed

Preheat the oven to 375 degrees.

Place the chicken breasts on a sheet pan and rub them with olive oil. Sprinkle generously with salt and pepper. Roast for 35 to 40 minutes, or until cooked through. Set aside and cool enough to handle, then remove them from the bones and discard the skin. Cut the chicken into large dice. You should have 4-6 cups of cubed chicken.

In a small saucepan, heat the chicken stock and dissolve the bouillon cubes in the stock. In a large pot or Dutch oven, melt the butter and saute the onions over medium-low heat for 10 to 15 minutes, or until translucent. Add the flour and cook over low heat, stirring constantly for 2 minutes. Add the hot chicken stock to the sauce. Simmer over low heat for 1 more minute, stirring, until thick. Add 2 teaspoons salt, 1/2 teaspoon pepper, and the heavy cream. Add carrots and potatoes, simmer over medium-low for 15 minutes or until tender. Add the chicken, peas, and parsley. Mix well.
At this point I leave it on the lowest setting and allow everything to marry together until it is time to eat. I also made a small batch of buttermilk biscuits to go along with the stew. These were very yummy with the soup and would be terrific with jam on them for another day.
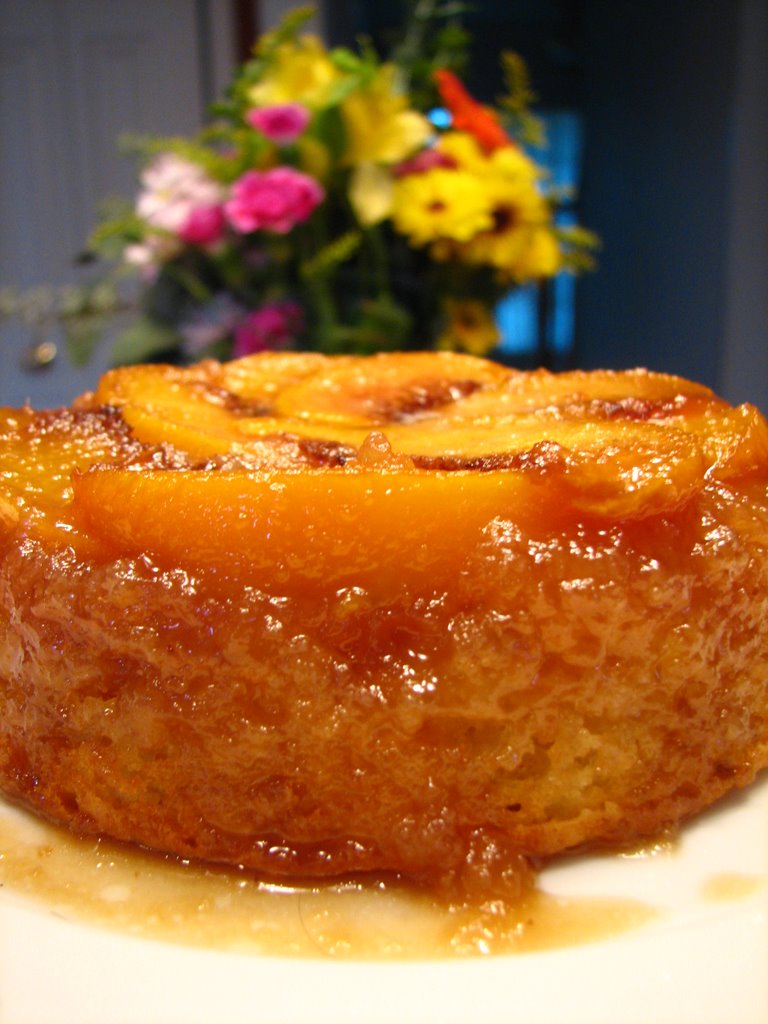

Apple Bundt Cake

Bundt cakes are probably my favorite type of way to bake a cake. They turn out beautiful without having to add much of anything to them. (Although having just taken my cake decorating class I wouldn't have minded the opportunity to try my hand at decorating again...but I had some more apples to use up, so apple cake it was.) They keep for longer periods of time than a traditional sheet cake and they stay moist. This bundt cake was especially good because of the surprise layer of spiced apples through the middle. Once cooled I finished it with a dusting of powdered sugar and dessert (and breakfast) were complete.
I also happen to have a couple different sized bundt pans which worked out well for this since the recipe made a full sized cake plus a mini one as well. We kept the small cake and I sent the other one to work with my husband. The smaller size it great for the two of us because we don't have to worry about wasting half of a cake, which is what typically happens. We just can't eat the same cake every night for a week without getting tired of it.
Apple Bundt Cake
adapted from http://www.epicurious.com/recipes/recipe_views/views/102692

4 medium Golden Delicious apples (about 1 1/2pounds), peeled, cut into 1/3-inch pieces
5 tablespoons plus 1 1/4 cups sugar
2 teaspoons ground cinnamon
4 large eggs
1 cup vegetable oil
1/4 cup orange juice
1 teaspoon vanilla extract
3 cups all purpose flour
3 1/2 teaspoons baking powder
1/2 teaspoon salt
Powdered sugar


Preheat oven to 350°F. Oil and flour 12-cup Bundt pan. Mix apple pieces, 5 tablespoons sugar and ground cinnamon in medium bowl. Combine 1 1/4 cups sugar, eggs, vegetable oil, orange juice, and vanilla extract in large bowl; whisk to blend. Stir flour, baking powder and salt into egg mixture. Spoon 1 1/2 cups batter into prepared Bundt pan. Top with half of apple mixture. Cover with 1 1/2 cups batter. Top with remaining apples, then batter.
Bake cake until top is brown and tester inserted near center comes out with moist crumbs attached, about 1 hour 30 minutes. Cool cake in pan on rack 15 minutes. Run knife around sides of pan to loosen. Turn cake out onto rack. Cool at least 45 minutes. Dust with powdered sugar. Serve slightly warm or at room temperature.
I will be keeping this recipe around. I did have to reduce the orignal amount of sugar from 2 1/2 cups to 1 1/4 cups because it seemed to be getting reviews that said it was on the sweet side. I think it was delightful without the extra sugar. I also skipped the orange peel because I simply didn't have an orange to zest. This did indeed make for a good dessert last night as well as a good breakfast this morning!

Monday, September 18, 2006

Stuff It - Rosemary and Cheese Stuffed Chicken Breasts

I really enjoy recipes that allow me to get most of the prep and clean-up done ahead of time. With a young baby it is hard to get dinner ready while watching him...especially since he can crawl. I find that he tends to follow me everywhere and crawl up my leg as I'm working in the kitchen. This makes moving around to get ingredients quite a challenge. He also seems to get frustrated if I dodge him and go around the island in the kitchen to avoid getting caught. So I try to get a lot of my cooking done when he is asleep. That means I have to use Gabe's afternoon nap to start dinner and get things prepared so that I can focus on feeding and entertaining him once he is awake. I find that this system works out pretty well. If I use my time wisely I can even get the house cleaned up and a load of laundry started as well - sometimes. Today Gabe slept really well so I got to work on dinner and even had some time to myself to spend blog-hopping. Yay!
Today I made stuffed chicken breasts, parmesan asparagus spears, and sauteed mushrooms. This worked really well. I really enjoy rosemary, so this dish was a big hit. The chicken remained tender and juicy because of the addes butter inside of the meat and the fresh cheese kept it's shape and didn't ooze out which has happened with other varieties. This is definitely a keeper and if I was in a huge time crunch I could stuff the chicken and put it in the fridge until closer to dinner or even until the next day.

Rosemary and Mozzerella Stuffed Chicken Breasts

3 Boneless Skinless Chicken Breasts
1 Large Fresh Mozzerella Cheese Ball
1 T Fresh rosemary
3 T butter
1/2 c flour
1/2 c Italian Bread Crumbs
1 egg - beaten
salt
pepper

1. Pound chicken breasts until 1/4 inch thick. Lay flat skin-side down.
2. Sprinkle with salt, pepper, and chopped rosemary.
3. Place 1/3 of cheese and 1 Tablespoon of butter on bottom half of breast. Tightly roll chicken over filling and secure all sides with toothpicks. (At this point it would be a good idea to refrigerator for 1 hour or up to 1 day before breading. This will give the chicken time to firm up and it will hold its' shape better.)
4. Make an assembly line of 3 dishes. The first with flour, the second egg, and the third bread crumbs. Cover each breast in flour, then dip into the egg wash, and finally cover with crumbs.
5. In a skillet, brown each breast in a little butter or olive oil. (I actually use a little of both - the butter for taste and the olive oil for the higher burn temp.)
6. Transfer browned chicken to an oven safe dish and finish cooking in a 350 degree oven for about 45 minutes.

Saturday, September 16, 2006

Slow As Molasses

Today I had a craving for cookies. Molasses cookies seemed fitting as the summer turns into fall. These turned out very yummy. I followed the recommendations made by people who had tested our this recipe earlier. I decreased the sugar and increased the molasses to make a chewier cookie. Very good indeed.

Sunday, September 10, 2006

Cranberry Scones

I was flipping through my good old Better Homes and Gardens Cookbook the other night while lying in bed and I marked a few recipes that I haven't made in awhile. This scone recipe was actually better than I recalled. It was a nice break from our usual pancakes and waffles. It was also a good way to use up some buttermilk and dried cranberries that I had around. I'll definitely be making these again. Maybe next time I'll even make a little whipped cream to top them off with...yum!

Buttermilk-Cranberry Scones
adapted from Better Homes and Gardens New Cookbook

2 c all-purpose flour
1/4 c sugar
2 t baking powder
1/4 t baking soda
1/3 c butter
1 egg
1/2 c buttermilk
1/4 dried cranberries
2 t sugar crystals
1 T buttermilk

Stir together flour, sugar, baking powder, baking soda, and salt. Using a pastry cutter, cut in butter until mixture resembles coarse crumbs. Make a well in the center of the dry mixture.
In another bowl, combine egg, buttermilk, and cranberries. Stir and then add mixture to dry ingredients. Stir until just moist.
Turn dough out onto a lightly floured surface. Quickly knead dough 10-12 strokes or until dough is nearly smooth. Pat dough into a 7-inch circle. Cut into 6 wedges. Place wedges 1 inch apart on an ungreased baking sheet.
Brush scones with buttermilk and then sprinkle with sugar crystals. Bke in a 400 degree oven about 12 minutes or until slightly golden.

Wednesday, September 06, 2006

Apple Danish

Joseph lost another bet at work...this one cost him 10 lunches. Later he made a deal with the winner...which included me making something worth 5 lunches. Since the bet was about leading apple producing states I thought it was only fitting that apples be included in the winners trophy. I just happened to have a bag of apples from our last trip to Michigan - thank you Grandma and AnnaLee - so I got to work on a family favorite. This apple danish recipe - you know I can't even call it a recipe, since I've never seen one used to make this - so I should say, this apple danish method is a family favorite. For years I helped my grandmother, aunt, and my mother make this danish multiple times each fall. We'd sit around trying to see who could get the longest apple peelings while talking and laughing the day away. Although I don't recall ever seeing the whole process done in conjunction since there were usually 8 hands at work on different parts, I pieced it together a few years back and started making it for my own family. I must admit that it isn't nearly as much fun working solo...in fact it was a little lonely as I recalled the fun we had making it at mom's house.
So, here is the method...but it is not precise by any means. We usually make a large sheet of it which disappears within a day, no kidding. We make an extra large batch of pie crust like what you find on the back of the Crisco tub. Once you have the bottom rolled out and in the pan we spread a layer of Rice Krispies on the bottom - yes, you heard me right. After that we layer on the sliced apples that have been mixed with sugar and cinnamon. Place a few dollops of butter around for good measure and roll on the top layer of crust. Crimp the edges and then smear the entire top with a layer of egg whites that have been whipped until semi-stiff. Bake at 350 until golden. Let cool and then drizzle on icing made with confectioner's sugar, vanilla, and milk. Enjoy. This is terrific hot, warm, cool, cold...you get the picture.

Monday, September 04, 2006

La Festa al Fresco - Margherita Pizza

I noticed creampuffsinvenice announced her La Festa al Fresco challenge awhile back and I have been thinking about what I'd like to make... for a long time now. I even stopped by the library and picked up a few cookbooks to get a little inspiration. I brought home a few including Saveur Cooks Authentic Italian. This cookbook is not only inspirational and beautiful but it makes you so hungry you have to keep sopping up the drool as you flip the pages.
After finding a few recipes that looked mighty delicious I settled on Pizza Margherita since the others didn't have much in terms of fresh ingredients. Plus, I was planning on company today and I wanted something fun to make with them. So, I got to work on a double batch of the dough before heading out to stop at the local farmstand. Once the dough was tucked away to rise I set out to pick up the plum tomatoes, fresh basil, and fresh mozzarella to complete the meal.
Once home I sliced everything up and arranged it for easy pizza assembly and started on dessert.  Make you own pizza night is one of my favorite way s of entertaining.  Everyone can help themselves to the toppings they like and everyone gets involved.

Pizza Dough
adapted from Saveur Cooks Authentic Italian

1 7-gram packet actice dry yeast
1 1/2 c all-purpose flour
1 1/2 c cake flour
1 tsp. salt
extra-virgin olive oil
1/2 c cornmeal

1. Dissolve yeast in 1/4 c lukewarm water in a large bowl. Set aside until yeast begins to activate, about 10 minutes. Combine flours and salt in a small bowl. Add 1 cup flour mixture to yeast and stir well. Mix in 1/2 cup water, then add another cup of flour and continue to stir. Add remaining flour, then gradually stir in about 1/4 cup water and mix well. The dough should be fairly soft but not too wet.
2. Turn out dough on a lightly floured surface and knead with the heels of your palms until it has a smooth, uniform texture, about 10-12 minutes. Divide dough into 2 equal balls. Coat the insides of 2 medium bowls with 1/2 tsp. oil each. Place dough in bowls, cover with damp cloths or plastic wrap. Set aside to rise until doubled in bulk, about 2 1/2 - 3 hours.
3. Punch down dough from one bowl, make a ball, and flatten it on a cornmeal sprinkled peel or sheet. Stretch dough into a 12" circle with a slightly raised edge. Add toppings and slide onto a hot pizza stone.
4. Bake until crust is golden brown and crisp, about 10 - 12 minutes at oven's highet setting. Drizzle with a little olive oil on each and serve.

For the Margherita toppings I sliced, seeded, and salted 2 pounds of plum tomatoes. I let the salt pull out the extra moisture before layering them on the dough. I also added a little pepper for taste. Then I added the sliced mozzarella and topped it off with the torn basil. After pulling them out of the hot oven I added a little extra fresh basil and oilve oil. Ciao!

Posts You Might Enjoy

Related Posts Plugin for WordPress, Blogger...